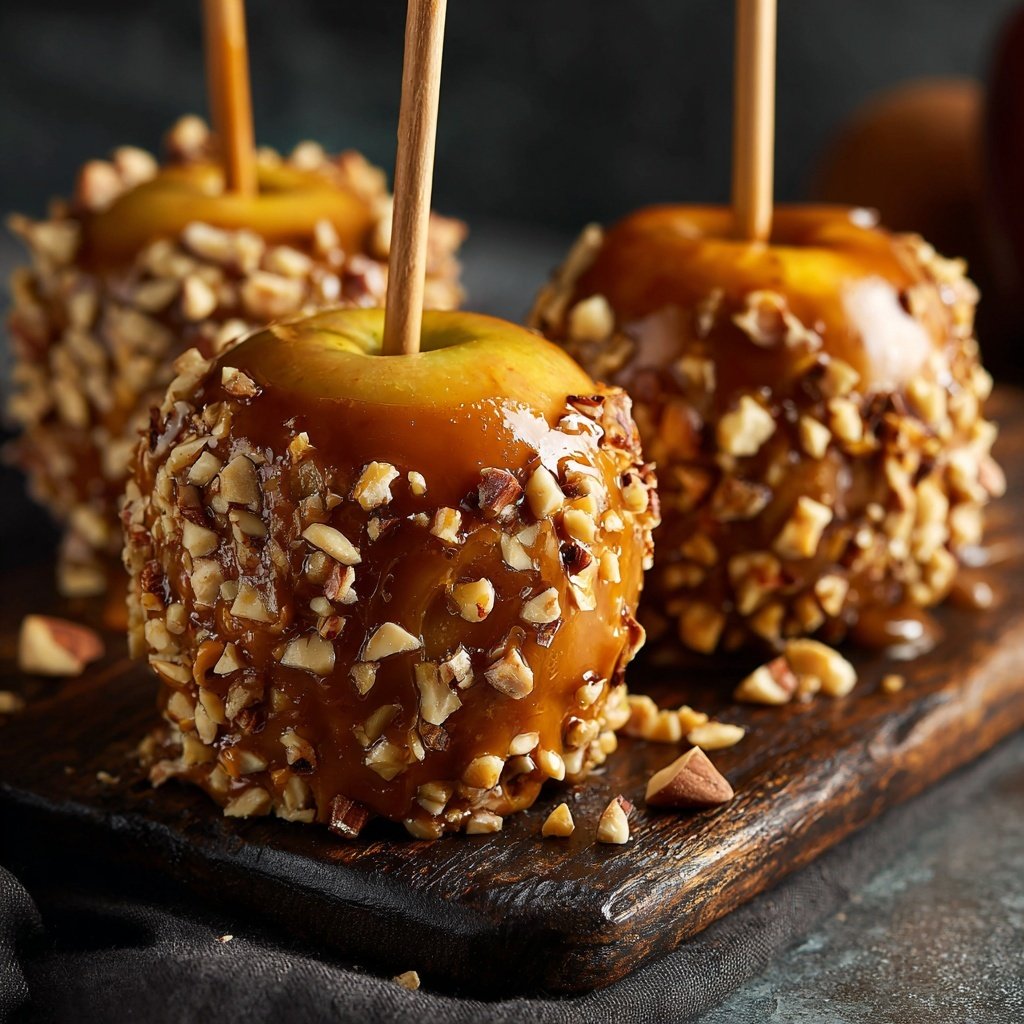
Homemade Caramel Candy Apples
Highlighted under: Special Inspiration
I adore making Homemade Caramel Candy Apples, especially during the fall season. There's something magical about the combination of crisp apples coated in rich, buttery caramel. Each bite is a delightful mix of sweet and tart that takes me back to my childhood. Making these treats at home allows me to customize the flavors and toppings, ensuring they match my taste perfectly. Plus, it’s a fun activity that’s great for gatherings, and everyone loves the result!
When I first tried making caramel candy apples, I was surprised at how simple the process was. I thought it would be a culinary challenge, but with just a few ingredients and some patience, these delightful treats came together effortlessly. Plus, mastering the caramel technique is incredibly satisfying!
I also learned that using fresh, tart apples really enhances the flavor. The balance between the sweet caramel and the crisp apple is simply irresistible. Don’t forget to let the caramel cool slightly before dipping to ensure it sticks perfectly to the apples!
Why You'll Love This Recipe
- Rich homemade caramel that’s incredibly flavorful
- Versatile toppings for a personal touch
- Perfect balance of sweet caramel and tart apples
Choosing the Right Apples
The choice of apple plays a crucial role in the overall taste of caramel apples. I recommend using Granny Smith apples for their crisp texture and tart flavor, which beautifully contrasts the sweetness of the caramel. Other good options include Honeycrisp or Fuji apples; both add a hint of sweetness while still retaining a firm bite. Avoid softer varieties, as they may become mushy in the caramel and lose their crunch.
Once you've selected your apples, make sure to thoroughly wash and dry them. Wiping the skins removes any wax or residues that can impede caramel adherence. A dry surface ensures that the caramel clings better and sets properly, resulting in a shiny, smooth finish.
Mastering the Caramel Technique
When making the caramel, the key is to monitor the temperature closely. Using a candy thermometer can help you achieve that perfect golden amber color, which is typically around 250°F (121°C). If you don't have a thermometer, watch for bubbling that calms down as it thickens, and the mixture turns glossy. Stirring too often can introduce air bubbles, so resist the urge until you see a steady boil.
If the caramel seems too thick or hardens too fast once applied to the apples, you can gently reheat it with a splash of cream over low heat until it loosens up. This flexibility allows you to adjust the consistency for smoother dipping, ensuring a delightful coating without being too sticky.
Customization and Storage Tips
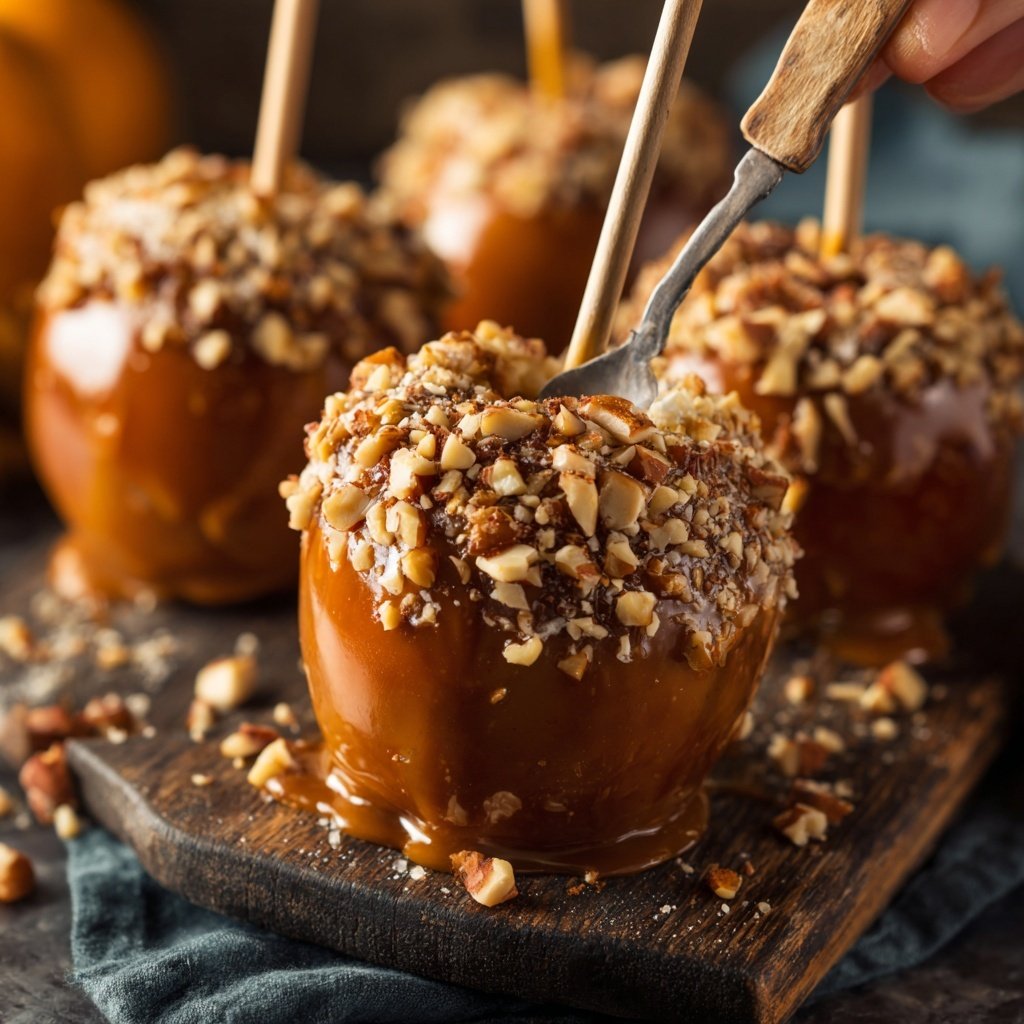
This candy apple recipe invites endless customization. Once you've dipped the apples in caramel, consider rolling them in toppings like crushed nuts, sprinkles, or even a drizzle of melted chocolate. I find that a light sprinkle of coarse sea salt can elevate the flavor profile, enhancing the sweet and salty combination to perfection.
After dipping, let the apples cool at room temperature to allow the caramel to set properly. If you need to store them, place them in a cool, dry place, preferably in a single layer, to prevent them from sticking together. They can last for about 2-3 days if stored properly, but I recommend enjoying them fresh for the best flavor and texture.
Ingredients
Gather your ingredients before starting to make the process smoother.
Ingredients
- 6 medium-sized apples (Granny Smith recommended)
- 2 cups granulated sugar
- 1/2 cup unsalted butter
- 1/2 cup heavy cream
- 1 teaspoon vanilla extract
- 1/4 teaspoon salt
- Wooden sticks for dipping
Make sure all your ingredients are at room temperature for the best results.
Instructions
Before starting, prepare a baking sheet lined with parchment paper.
Prepare the Apples
Wash and dry the apples thoroughly. Insert a wooden stick into the top of each apple, ensuring it goes in about halfway.
Make the Caramel
In a medium saucepan, combine granulated sugar, butter, and heavy cream. Cook over medium heat while stirring until the mixture comes to a boil. Allow it to boil without stirring for about 5 minutes until it reaches a golden amber color.
Add Flavor
Remove the saucepan from the heat and stir in the vanilla extract and salt, mixing until well combined.
Dip the Apples
Carefully dip each apple into the caramel, turning to coat completely. Allow the excess caramel to drip off before placing the apples on the prepared baking sheet.
Cool and Serve
Let the caramel apples cool completely at room temperature. Once set, serve immediately or store in a cool place.
Once dipped, consider adding toppings like crushed nuts or sprinkles for extra flavor!
Pro Tips
- Make sure your apples are at room temperature to ensure the caramel adheres well. If the caramel starts to harden while dipping, reheat it slightly to maintain the right consistency.
Common Troubleshooting Tips
If your caramel is not thickening properly, it may not have reached the right temperature. If you find that it sticks too much to the apples or has a grainy texture, it might be due to stirring too early or overcooking. In such cases, reheating and straining the caramel can help. Make sure you allow the mixture to boil without stirring for the right amount of time to develop a smooth, rich texture.
If you’re struggling with the caramel running off the apples, ensure they are completely dry before dipping. A slight chill on the apples in the refrigerator for about 15-20 minutes can also help set the caramel faster, preventing drips and allowing for a thicker coat.
Scaling the Recipe
Scaling this recipe up is quite simple; just maintain the same ratios of ingredients. For larger gatherings, prepare batches of 8-12 apples. Consider using multiple saucepans to speed up the process, allowing multiple flavors of caramel to be made simultaneously.
When scaling up, be mindful of how quickly the caramel cools. If making larger quantities, it’s beneficial to use a larger pot to ensure even heat distribution. Keep the heat level consistent and avoid crowding the pot to give the ingredients enough room to cook evenly without cooling down too quickly.
Flavor Variations to Try
To add a unique twist to your caramel candies, consider infusing the caramel with additional flavors. For a hint of spice, mix in cinnamon or nutmeg. You could even add a splash of bourbon or rum for an adult version, giving the candies a deeper complexity that's impressive for gatherings.
Another fun variation is to dip the apples in white chocolate before the caramel or to use flavored extracts like almond or maple in place of vanilla. Each of these small tweaks can create distinctly different tastes, making your homemade caramel candy apples something truly special every time.
Questions About Recipes
→ Can I use different types of apples?
Yes, you can use any variety, but tart apples like Granny Smith work best for a flavor contrast.
→ How do I store caramel apples?
Store them in a cool, dry place in an airtight container for up to a week.
→ Can I add toppings to my caramel apples?
Absolutely! Feel free to roll your caramel-coated apples in nuts, sprinkles, or crushed cookies.
→ Why did my caramel turn out too hard?
If the caramel cooked too long, it can thicken excessively. Monitor the boiling time closely and remove it from the heat as soon as it reaches the desired color.
Homemade Caramel Candy Apples
Created by: Nell Abernathy
Recipe Type: Special Inspiration
Skill Level: Intermediate
Final Quantity: 6 servings
What You'll Need
Ingredients
- 6 medium-sized apples (Granny Smith recommended)
- 2 cups granulated sugar
- 1/2 cup unsalted butter
- 1/2 cup heavy cream
- 1 teaspoon vanilla extract
- 1/4 teaspoon salt
- Wooden sticks for dipping
How-To Steps
Wash and dry the apples thoroughly. Insert a wooden stick into the top of each apple, ensuring it goes in about halfway.
In a medium saucepan, combine granulated sugar, butter, and heavy cream. Cook over medium heat while stirring until the mixture comes to a boil. Allow it to boil without stirring for about 5 minutes until it reaches a golden amber color.
Remove the saucepan from the heat and stir in the vanilla extract and salt, mixing until well combined.
Carefully dip each apple into the caramel, turning to coat completely. Allow the excess caramel to drip off before placing the apples on the prepared baking sheet.
Let the caramel apples cool completely at room temperature. Once set, serve immediately or store in a cool place.
Extra Tips
- Make sure your apples are at room temperature to ensure the caramel adheres well. If the caramel starts to harden while dipping, reheat it slightly to maintain the right consistency.
Nutritional Breakdown (Per Serving)
- Calories: 250 kcal
- Total Fat: 9g
- Saturated Fat: 5g
- Cholesterol: 20mg
- Sodium: 60mg
- Total Carbohydrates: 42g
- Dietary Fiber: 1g
- Sugars: 33g
- Protein: 1g